
How to Use the Roblox Animation Editor (2026 Guide)
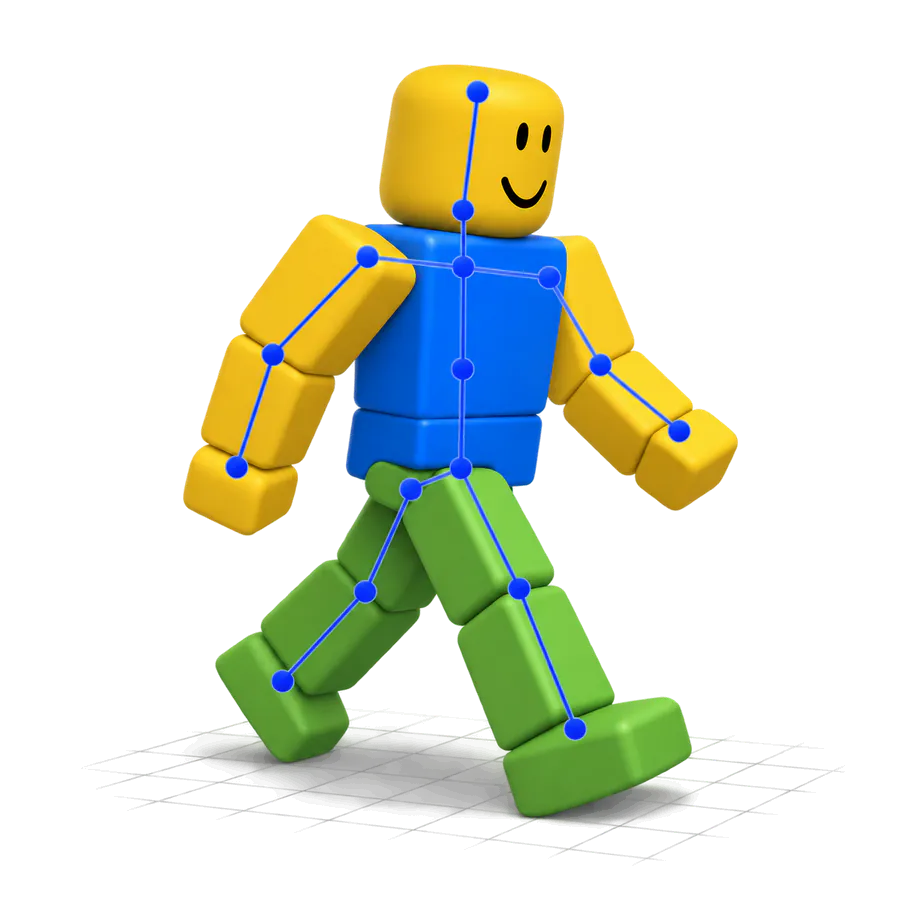
The Roblox Animation Editor is the tool built into Roblox Studio for animating rigs. You open it from the Avatar tab (or Window → Avatar), select a rig, pose its parts at points on a timeline, and the editor animates between those poses. When you're done, you publish the animation to Roblox and use its ID in your game.
This guide walks through the Roblox Animation Editor from an empty rig to a published animation ID, including how to load an animation file someone else made.
What does the Roblox Animation Editor's window contain?
The window has three parts:
- Media and playback controls, at the top: the animation name, play and loop buttons, the ⋯ menu, and a position indicator that shows the scrubber's place in seconds:frames.
- The track list, on the left: the rig's name, a button for the Manage IK window, and one track for every part you have posed.
- The timeline, on the right: the scrubber, the time marks, and a menu for options such as Timeline Unit and Frame Rate.
Animations run at 30 frames per second by default, so 0:15 on the timeline means half a second.
How do you start a new animation?
You can only animate a rig. If you don't have one:
- On the Avatar or Home tab, click Character to open the Rig Generator.
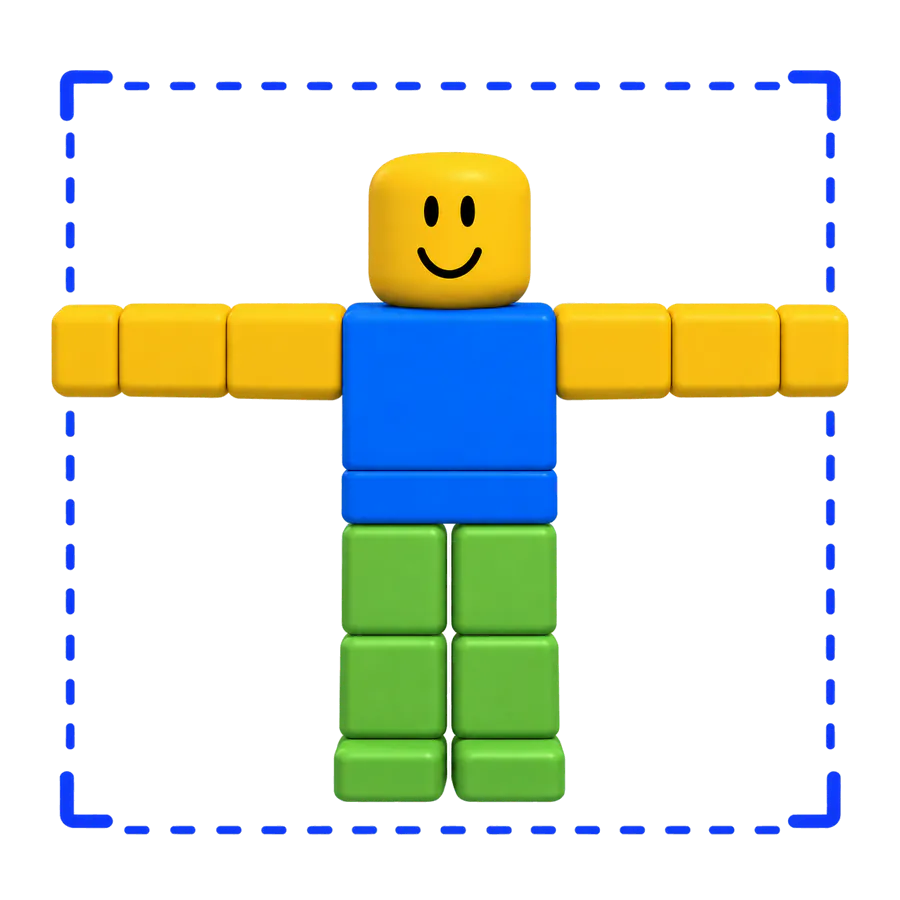
- Pick R15 (15 parts and joints) or the legacy R6 (6 parts). R15 has a much wider range of motion, and only R15 models can wear layered clothing.
- Choose a body shape and a style. The rig appears in the viewport and in the Explorer as Rig.
- Select the rig, then open the Animation Editor.
How do you create poses and keyframes?
A pose is the position and rotation of each body part at one moment.
- In the Explorer, expand the rig so you can see its parts.
- Drag the scrubber to the frame where the pose should happen.
- Select a part, such as a hand or the upper torso, and move or rotate it. Press R to switch between Move and Rotate.
- A track appears for that part, with a keyframe at that frame.
- Repeat at later frames, then press Play or the Spacebar to preview.
The timeline starts at one second long. To add time, type a longer value into the right-hand box of the position indicator.
You can edit keyframes after you place them:
| Task | How |
|---|---|
| Add keyframes | Right-click and choose Add Keyframe Here. They go where you click, not where the scrubber is. |
| Move keyframes | Select them and drag to a new time. |
| Duplicate keyframes | Copy with Ctrl+C or ⌘C, move the scrubber, paste with Ctrl+V or ⌘V. |
| Delete keyframes | Select them and press Delete or Backspace. |
Click the upper part of the track list to work on all tracks at once.
How do easing styles change an animation?
By default, parts move between keyframes at a constant speed. That looks stiff for most body motion. To change it, select one or more keyframes, right-click, and pick an easing style:
- Linear: constant speed.
- Constant: no blend, so the part snaps to the next keyframe.
- CubicV2: smooth cubic ease in or out. Roblox shows it making a head turn look more natural than Linear.
- Elastic: moves as if attached to a rubber band.
- Bounce: bounces at the start or end.
Easing direction sets which end is affected: In starts slow, Out ends slow, and InOut does both.
If an animation ends up with too many keyframes, open ⋯ → Optimize Keyframes and drag the slider to remove the least important ones first.
How do you loop an animation and set its priority?
Click the Looping button in the playback controls to make an animation repeat. A loop does not blend the last frame back into the first, so copy your first keyframes to the end for a smooth seam.
Priority decides which animation wins when two play at once. Set it under ⋯ → Set Animation Priority. The seven levels, from highest to lowest, are Action4, Action3, Action2, Action, Movement, Idle and Core. A jump should outrank an idle, for example.
How do you load an animation file into the editor?
You don't have to start from a blank timeline. You can bring in a file and edit it.
An .rbxmx file (MocapGen and our free library export this):
- In the Explorer, select your R15 rig's AnimSaves folder. If the rig has none, save any animation on it first to create the folder.
- Right-click AnimSaves, choose Insert From File, and pick the
.rbxmx. - In the Animation Editor, click ⋯ → Load and choose the animation.
If you want a file to practise with, our free R15 animation library has 24 clips that download as .rbxmx or R15 FBX after you sign in.
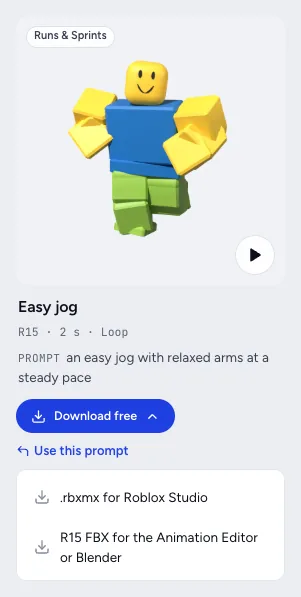
An FBX file: click ⋯ next to the rig name, choose Import → From File, select the .fbx, set Imported Rig as the root pose source, and click Import. Some older guides call this option "From FBX Animation".
A video: with the Live Animation Creator beta turned on, choose ⋯ → Import → Live Animation Creator. Roblox asks for one person in a single shot under 15 seconds.
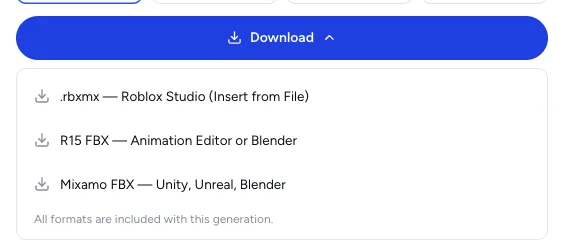
To make the file itself from a prompt, use MocapGen's Roblox animation maker and pick .rbxmx in the download menu:
What is the difference between Save and Publish?
Save (or Save As) under ⋯ stores the animation as a KeyframeSequence in ServerStorage, with a reference in the rig's AnimSaves folder. It keeps your work, but it doesn't replicate to players, so a live game shouldn't use it.
Publish to Roblox uploads the animation and gives it an asset ID:
- If it will replace a default animation such as run or jump, right-click the final keyframe, choose Rename Key Keyframe, and type
End. The name is case-sensitive. - Click ⋯ → Publish to Roblox.
- Enter a title and an optional description.
- For a group-owned game, pick the group in the Creator field.
- Click Submit, then copy the ID from the Toolbox.
How do you play the animation in your game?
In a script, follow Roblox's pattern:
- Get the character's Humanoid and its Animator.
- Create an Animation instance and set its
AnimationIdtorbxassetid://<your ID>. - Call
Animator:LoadAnimation()to get an AnimationTrack, then callPlay()on it.
To swap a default animation, add a Script to ServerScriptService that changes the IDs inside the character's Animate script. Roblox documents slots for run, walk, jump, idle (two variations), fall, swim, swim idle and climb.
Animations are restricted assets. If the animation was published under a different account or group from the game, give the game permission first, or it won't load.
FAQ
Can the Roblox Animation Editor animate R6 rigs?
Yes. The Rig Generator inserts R6 or R15 rigs, and the editor works on both. Animation Capture from video works on R15 only.
Why doesn't my animation play in the game?
Common causes: you saved but didn't publish, the ID is wrong, the priority is lower than another playing animation, or the game doesn't have permission to load the animation.
Can I edit an AI-generated animation in the Animation Editor?
Yes. After you insert an .rbxmx or import an FBX, its keyframes appear on the timeline like any other animation. Our guide to making Roblox animations compares the hand, video and AI routes, and the walk animation generator gives you a walk to start editing from.
Information checked October 4, 2026. Editor steps come from the official Roblox Creator Hub documentation (last updated October 2, 2026).